Pop!_OS shell is a new auto-tiling window manager developed by Pop!_OS dev team. Pop shell was first introduced and shipped by default in the latest long-term Ubuntu-based Pop!_OS 20.04. It is simply a GNOME extension running on top of the GNOME shell.
You can use it for navigation and management of windows on GNOME desktop fully through the keyboard. Hence, in this article, I’ll guide you to install Pop!_OS shell on Ubuntu Linux and turn your GNOME desktop into a tiling window manager.
How To Install Pop Shell Window Tiling Extension On Ubuntu 20.04?
1. Install Dependencies
Before installing the Pop shell GNOME shell extension, you first need to have three important tools pre-installed:
- GNOME Shell 3.36
- TypeScript 3.8
- GNU Make
If you’re using Ubuntu 20.04 with GNOME, you’ll already have GNOME Shell 3.36. Make tool is also mostly pre-loaded in every Linux distribution. If not, install make along with TypeScript.
sudo apt install node-typescript make
2. Download or Clone Pop!_OS Shell Repository
Currently, Pop shell extension is not available on the official GNOME extension site. Hence, you need to download Pop!_OS shell repository and install it using source code.
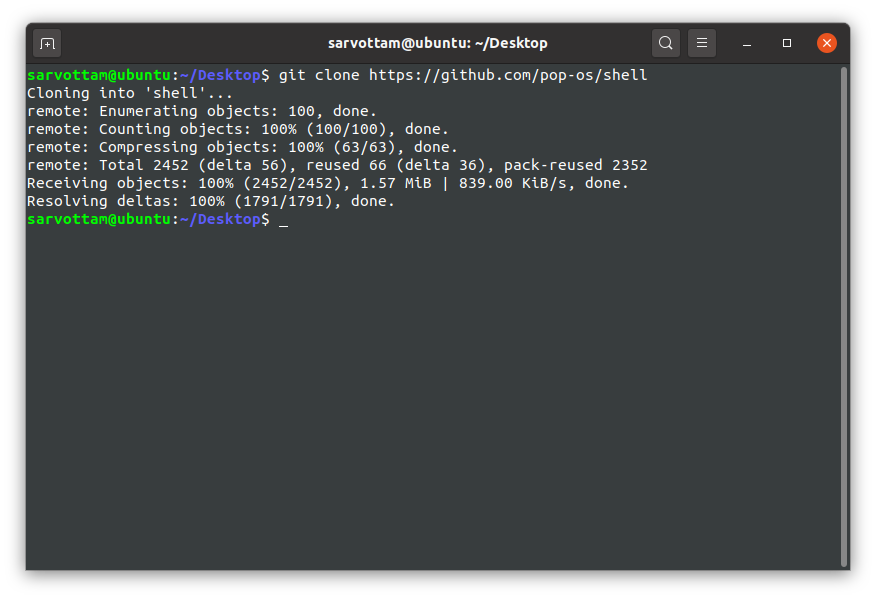
You can either download the repo directly from GitHub or clone it from the command line by running the command:
git clone https://github.com/pop-os/shell
3. Install Pop Shell Extension
Once you download the repo, move to the shell directory:
cd shell
Then, run the command to transpile the TypeScript source code and install Pop!_OS shell extension:
./rebuild.sh
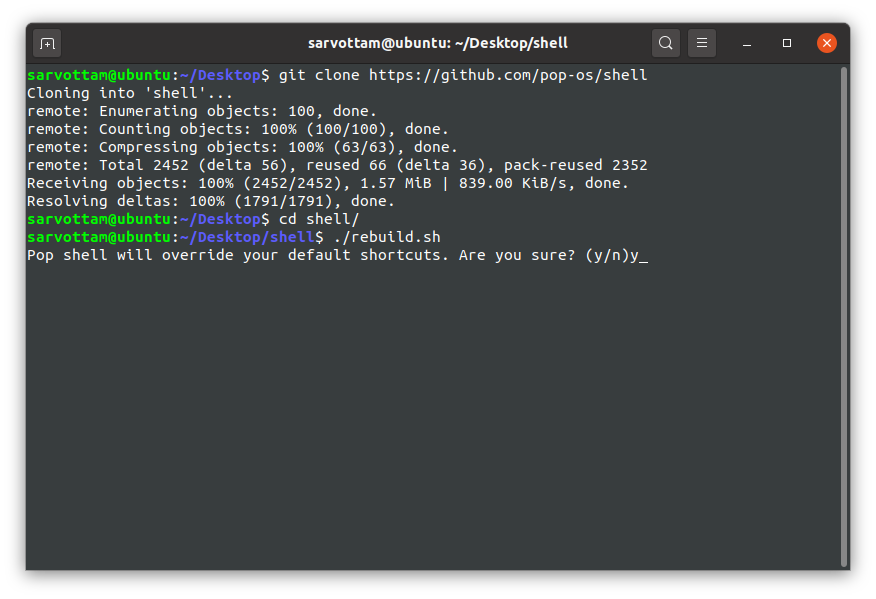
Here, if you want to override your default keyboard shortcuts, type ‘y’ or else ‘n.’ Later, you can also reset modified shortcuts to default.
As you’ll notice here the process of transpiling the TypeScript source code into GJS-compatible JavaScript sources, it will install Pop shell extension and modifying the default keyboard shortcuts in GNOME.
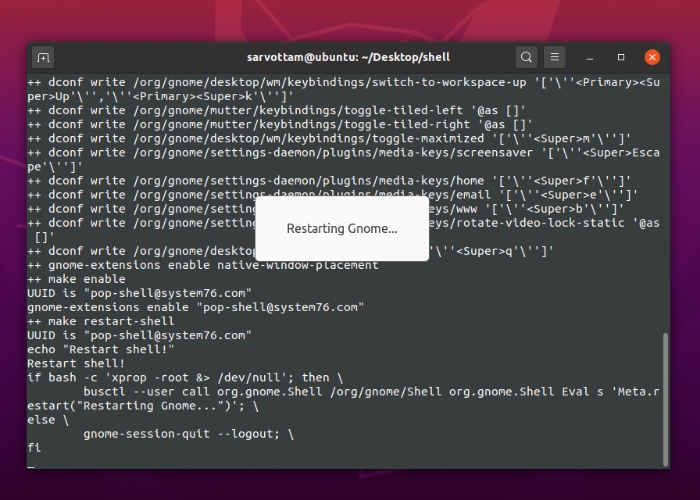
In the end, the process of installation may not be finished. However, if you notice a tiling logo in the top right corner of your GNOME desktop panel, you can finish the process using CTRL+C and start using Pop Shell tiling manager.
How To Use Pop Shell On Ubuntu?
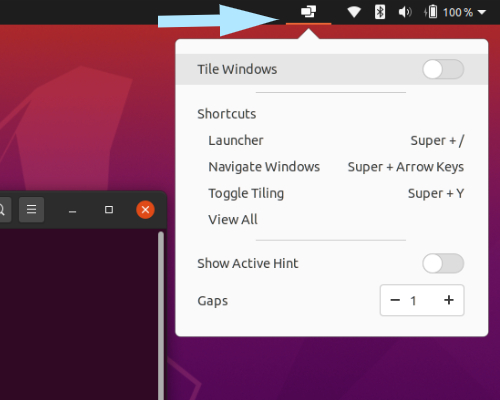
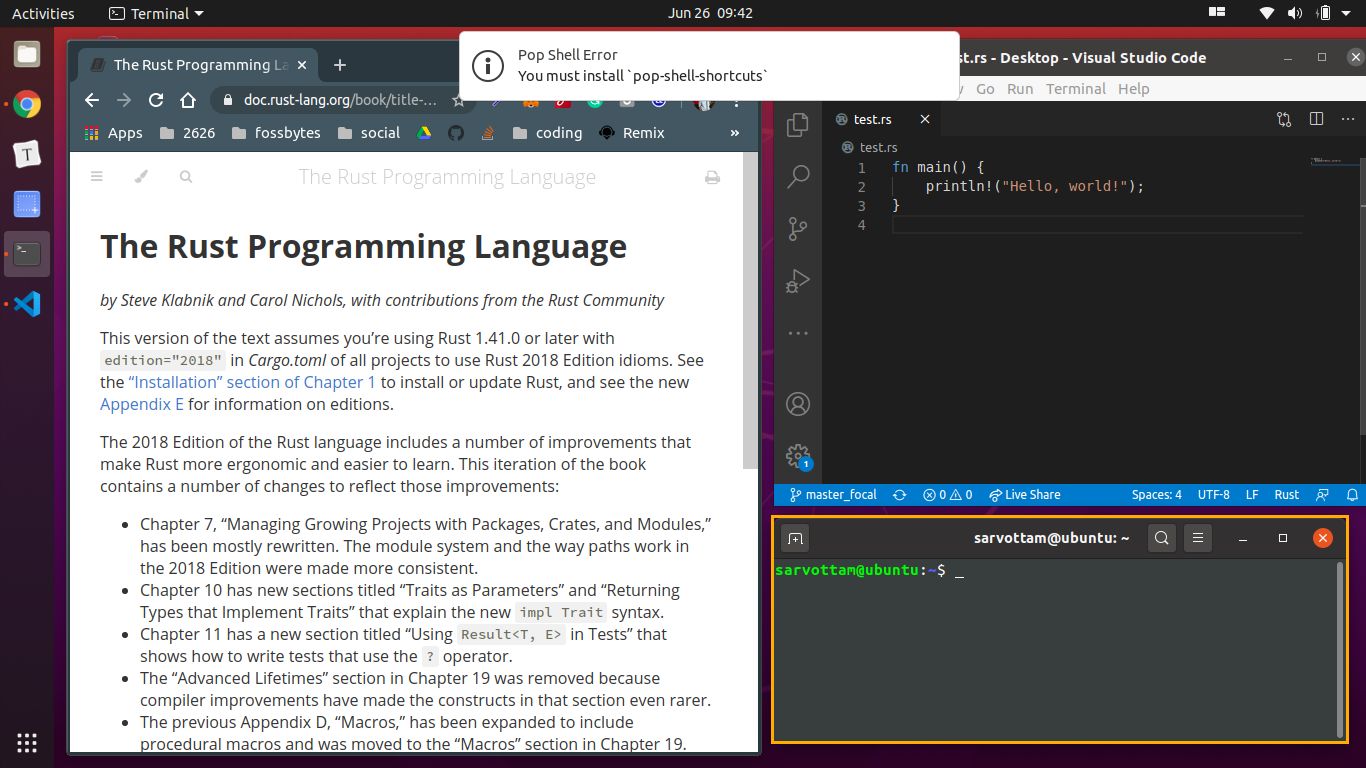
Now you’ve successfully installed the Pop shell extension, you can enable auto-tiling mode (disabled by default) from the top panel by toggling Tile Windows to ON. As soon as you click on toggle, you will notice all windows split into a grid of columns and rows.
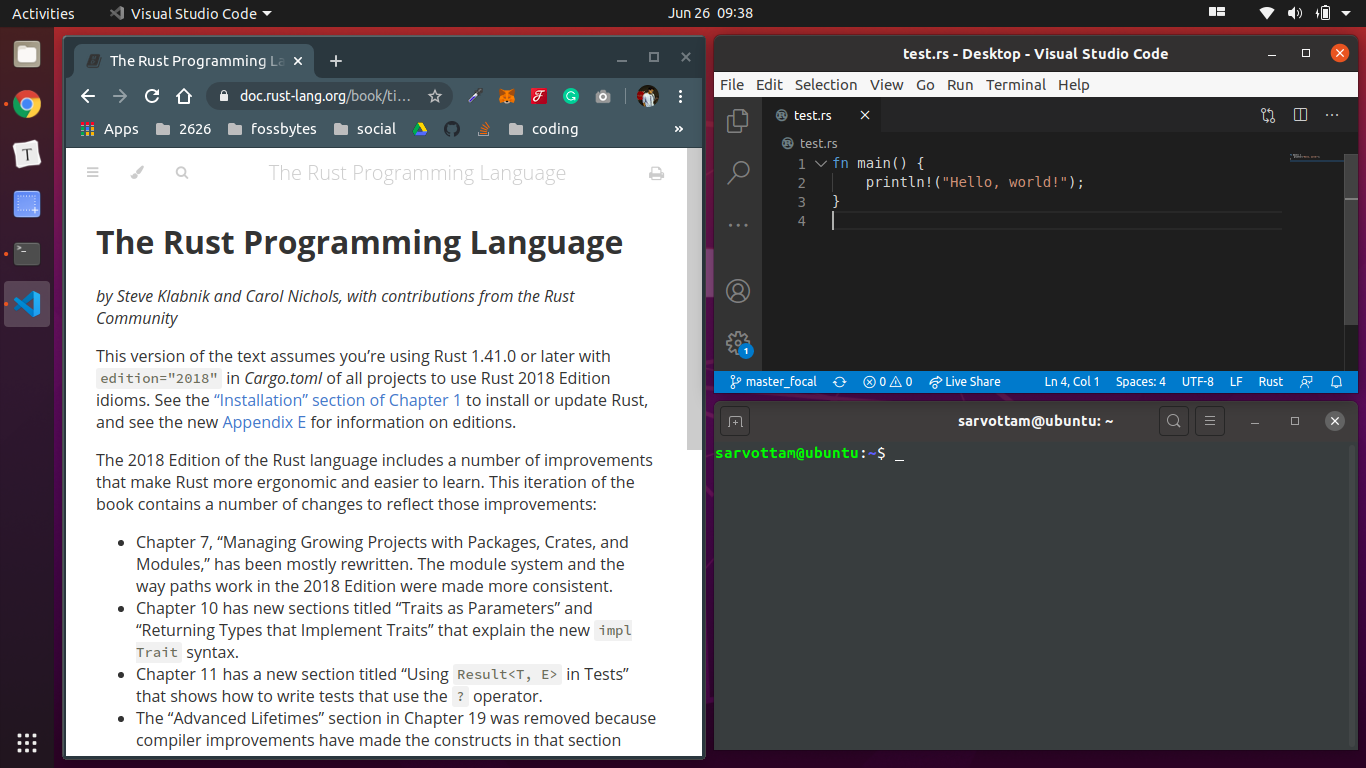
While the extension is ON, if you open a new window, Pop shell fits it in the Fibonacci sequence in the existing grid structure.
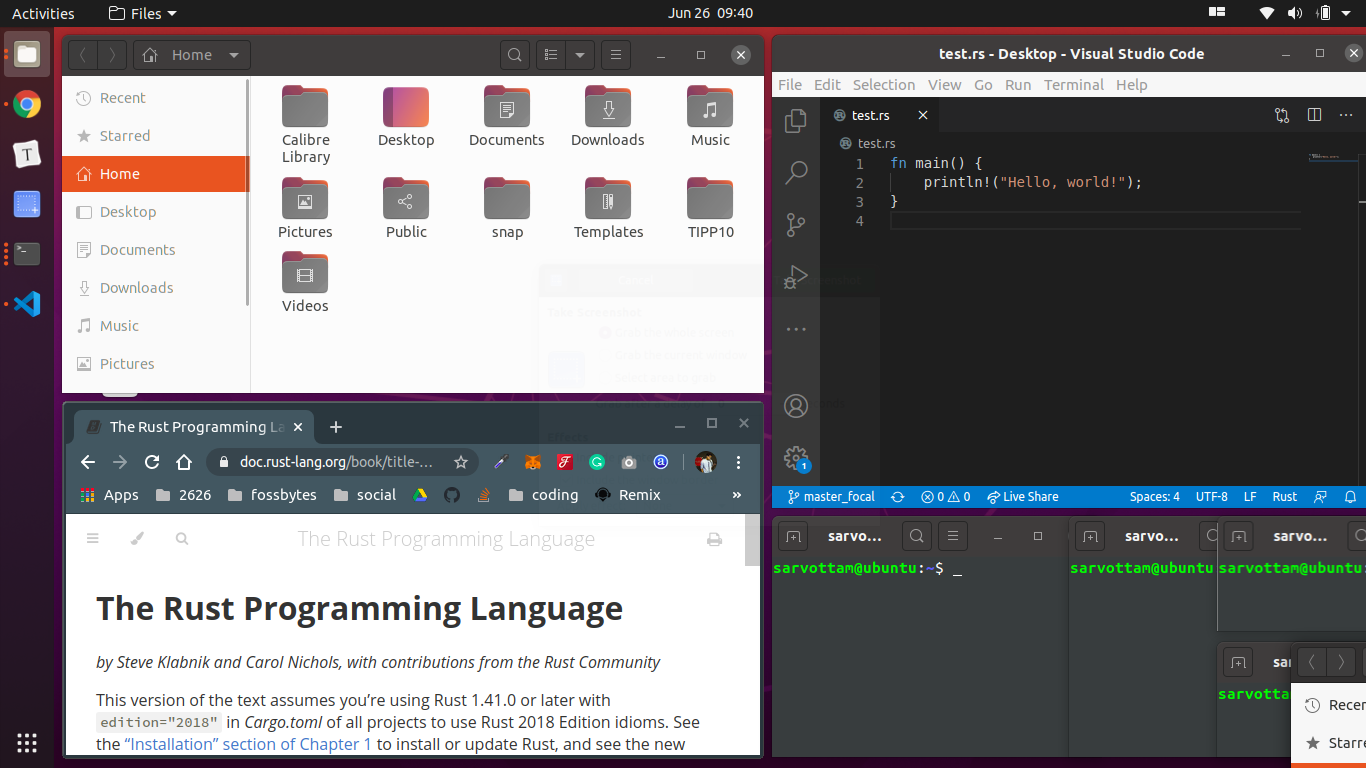
Pop shell also offers other customization options. For instance, you can toggle ‘Show Active Hint’ to highlight the active windows and also expand the gap between windows.
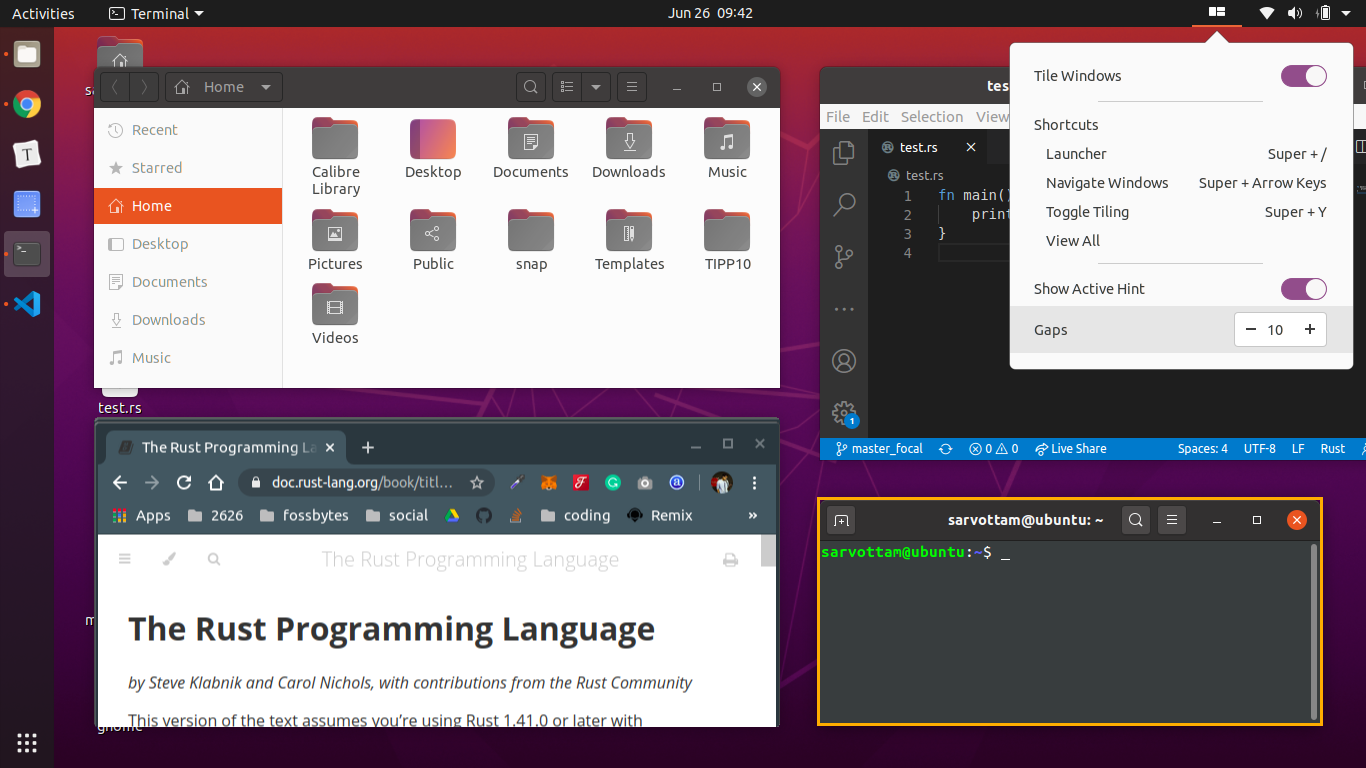
Furthermore, you can activate the launcher with Super + / to browse in the system and open applications.
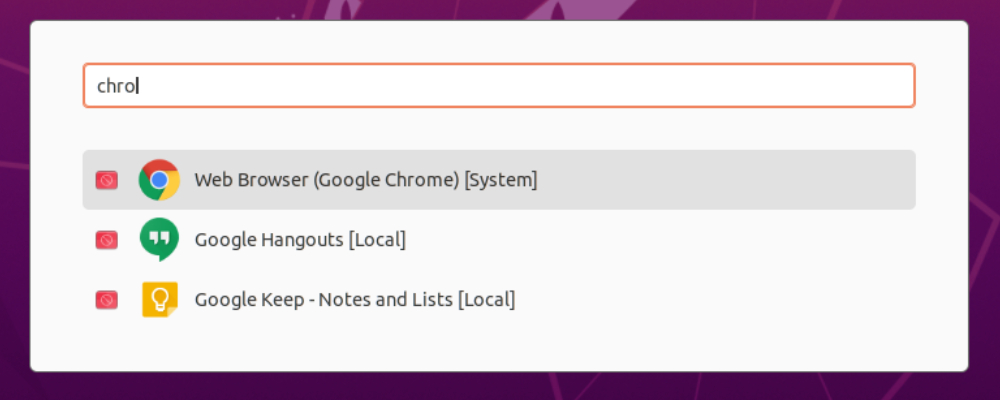
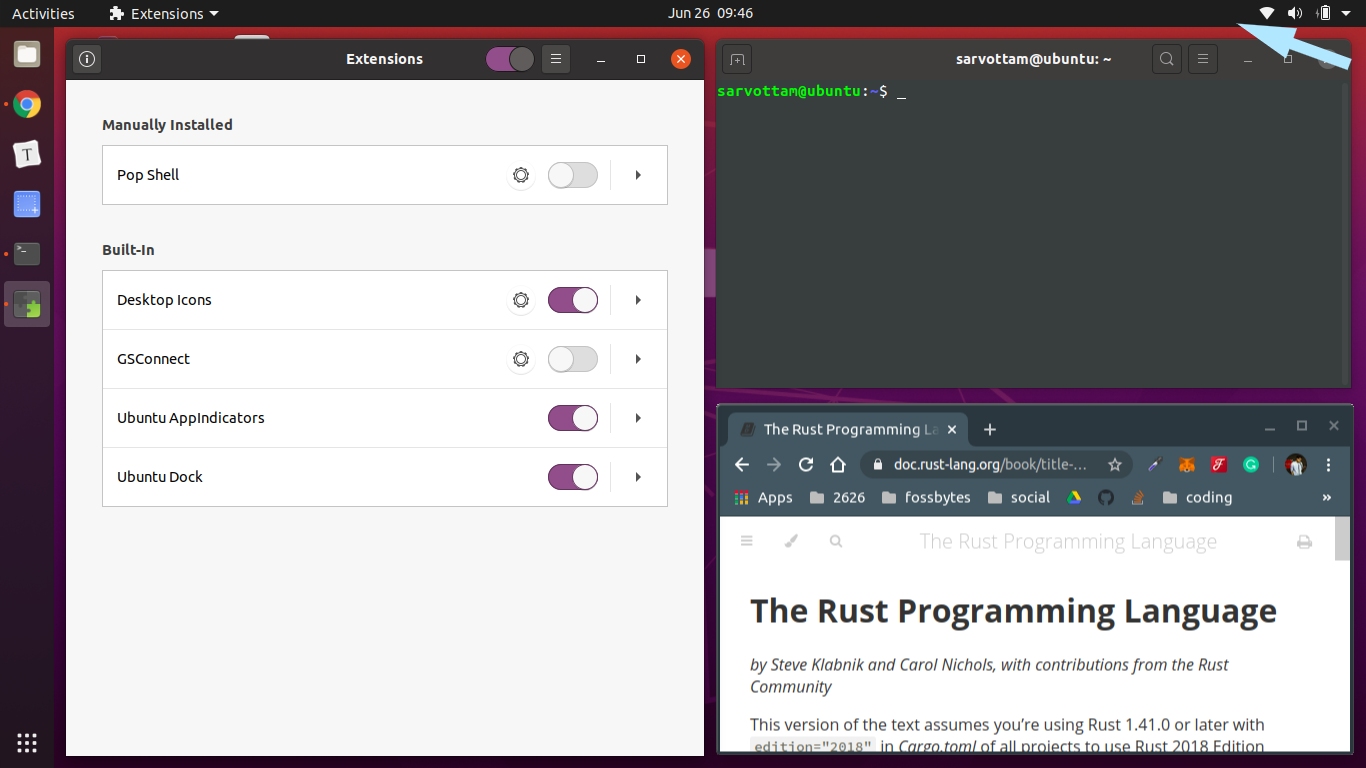
Now if you don’t want to use Pop shell, you can disable it by switching off the auto-tiling mode. You can also directly disable the Pop shell tiling window extension from the GNOME extensions that will hide it from the panel.
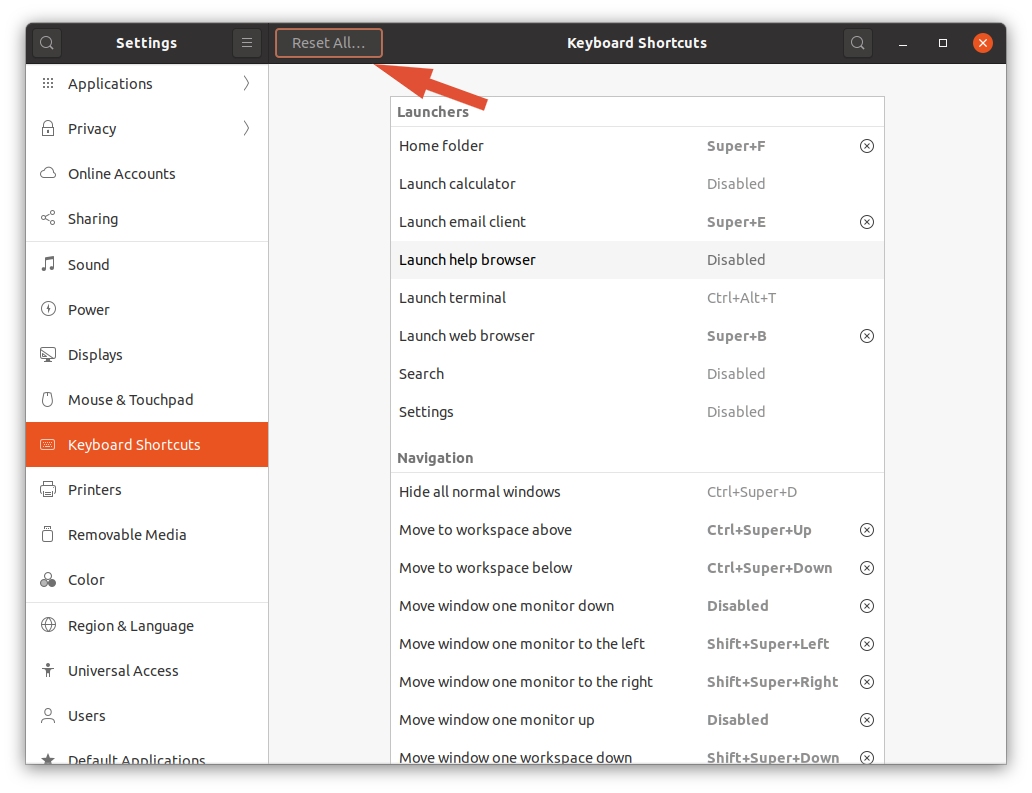
Lastly, since Pop shell overrides several default GNOME keyboard shortcuts, you can either individually modify shortcuts or reset all at once to default from Settings -> Keyboard Shortcuts -> Reset All.
How To Install Pop Shell Keyboard Shortcuts?
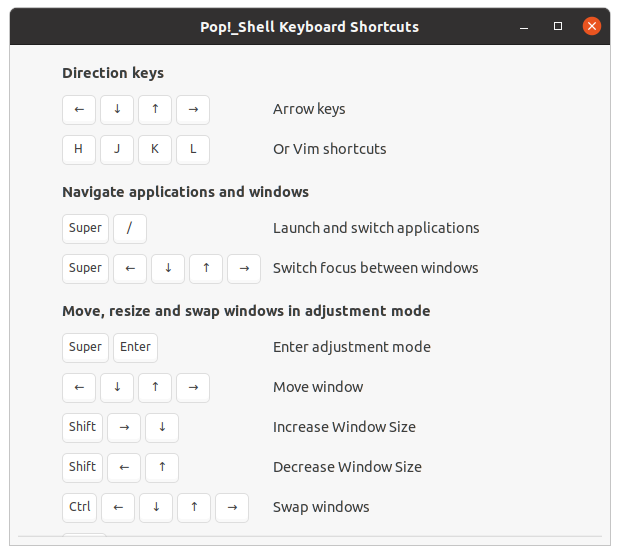
Now, coming to an important aspect of Pop Shell — Keyboard Shortcuts — that makes it easier to use. Pop shell is a keyboard-driven layer that you can control fully without using a mouse. For each operation, like switching between windows and activating launcher, Pop shell provides several keyboard shortcuts.
Initially, you may not remember all shortcuts. Hence, you can install Pop Shell Shortcuts dialog that contains a full list of available shortcuts.
If you want to install Pop shell Keyboard Shortcuts, you first need to have dependencies installed. Then, clone the shell-shortcutsrepository and build the source code to get Shortcuts dialog.
sudo apt install cargo rustc libgtk-3-dev
git clone https://github.com/pop-os/shell-shortcuts
cd shell-shortcuts
make
sudo make install
Once you finish installing it successfully, you can open dialog by running the command:
pop-shell-shortcuts
Later, if you wish to remove or uninstall the Pop Shell Shortcuts, run the following command:
sudo rm /usr/local/bin/pop-shell-shortcuts
How To Remove Pop Shell Extension?
You can uninstall Pop Shell tiling window extension using any of the three methods.
First, you can run the following command from the shelldirectory:
make uninstall
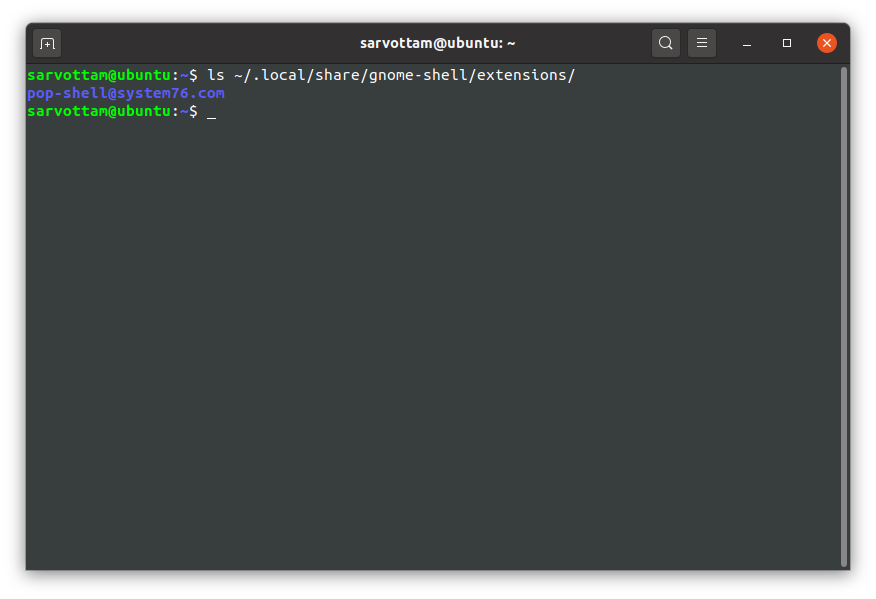
Second, you can delete the directory pop-shell@system76.com from the location ~/.local/share/gnome-shell/extensions:
rm -r ~/.local/share/gnome-shell/extensions/pop-shell@system76.com
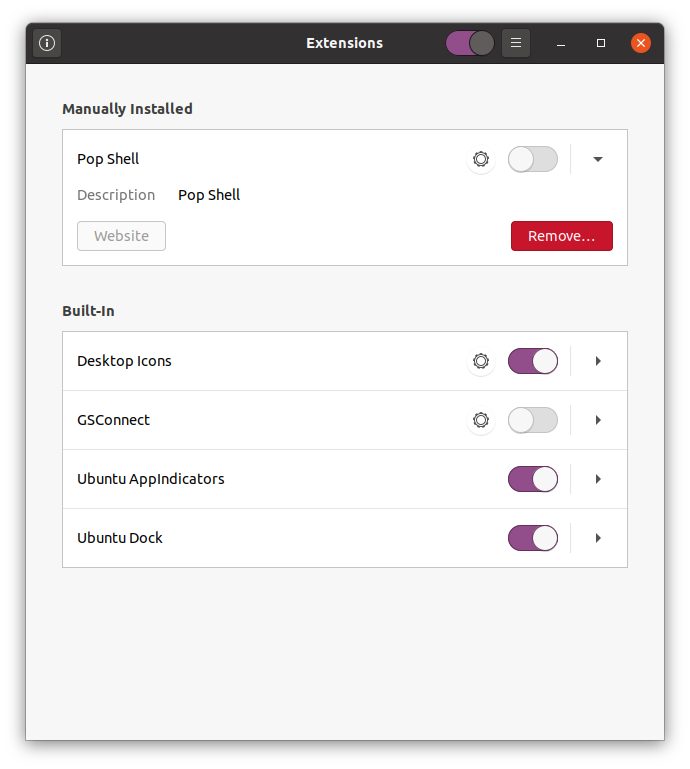
Third, you can use the GNOME Extension app to remove Pop shell.
Conclusion
I hope Pop shell extension will make your day productive by managing the windows. But let me also inform you that the extension is still under development.
Therefore, you may find it a little buggy or annoying in some cases. For example, if you run Pop Shell on a modern Wayland compositor, GNOME desktop may become unresponsive.
Overall, Pop shell extension seems like a great advancement in the field of the tiling window manager. If you work in two-sided screen mode, it would definitely help to tile one window to one side of the screen, another to the other side of the screen. With time, you can expect it to get much better and make windows handling easier.
The post How To Install Pop Shell On Ubuntu 20.04? Use Pop!_OS Auto-Tiling Manager appeared first on Fossbytes.